Choosing an indoor playground manufacturer is a huge decision. Our expert guide reveals the 6 critical factors to evaluate—from safety certifications to after-sales support—so you can invest with confidence and avoid disastrous, costly mistakes.

You’ve done the market research, secured the location, and can already picture the joyful chaos of families filling your new indoor playground or trampoline park. You’re on the brink of an exciting venture. But there’s one decision that will define the success, safety, and profitability of your entire business: who will build your equipment?
This choice is far more than a simple procurement task. It’s the foundation upon which your reputation is built. A reliable manufacturer is a partner in your success. A cheap, unverified supplier is a liability waiting to happen. The difference can mean a thriving, popular destination or a constant cycle of costly repairs, safety scares, and disappointed customers.
This guide will walk you through the essential checklist for vetting and selecting a reliable indoor playground manufacturer. We’ll show you exactly what to look for, what questions to ask, and which red flags to run from—ensuring you make a smart, long-term investment.
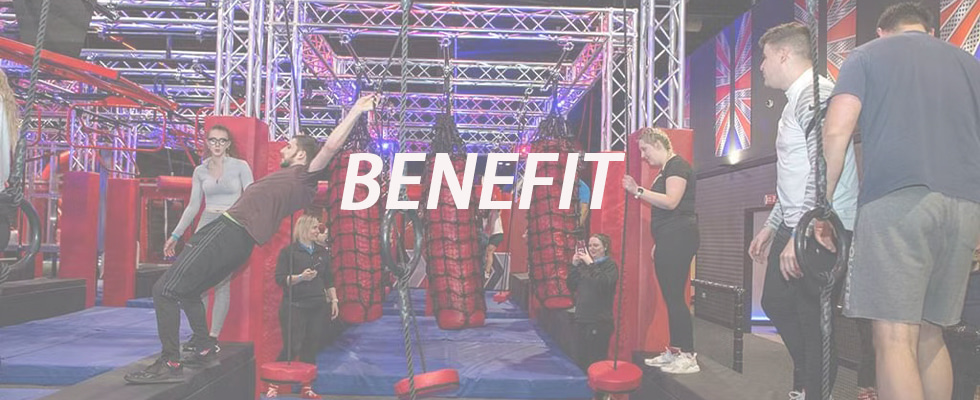
Why This Choice is Your Most Critical Business Decision
Before we dive into the checklist, let’s be clear about the stakes. Your manufacturer impacts three core pillars of your business:
1. Safety: This is non-negotiable. The structural integrity, materials, and design of your equipment directly prevent injuries. A failure here isn’t just a financial problem; it’s a moral and legal catastrophe.
2. Long-Term Investment: Your equipment is your primary asset. A quality manufacturer provides a durable, low-maintenance product that offers a high return on investment over 5-10 years. A cheap one offers a low upfront price followed by a relentless drain of repair and replacement costs.
3. Brand Reputation: Your park’s appearance and reliability shape your brand. Faded, cracked, and broken equipment screams “cheap” and “unsafe,” driving discerning parents to your competitors. A vibrant, well-maintained facility builds trust and justifies premium pricing.
The 6-Point Checklist for a Reliable Manufacturer
Use these six criteria to rigorously evaluate any potential supplier. If they can’t confidently check every box, walk away.
1. Uncompromising Safety Certifications (The Non-Negotiable)
This is your first and most important filter. A reliable manufacturer doesn’t just *say* their equipment is safe; they prove it with internationally recognized, third-party certifications.
What to Look For:
· ASTM F1487 (Standard Consumer Safety Performance Specification for Playground Equipment for Public Use): This is the gold standard in the United States.
· TÜV Certification: A German-based certification that is globally respected for its rigor in product testing and quality management.
· CE Marking: Indicates conformity with health, safety, and environmental protection standards for products sold within the European Economic Area.
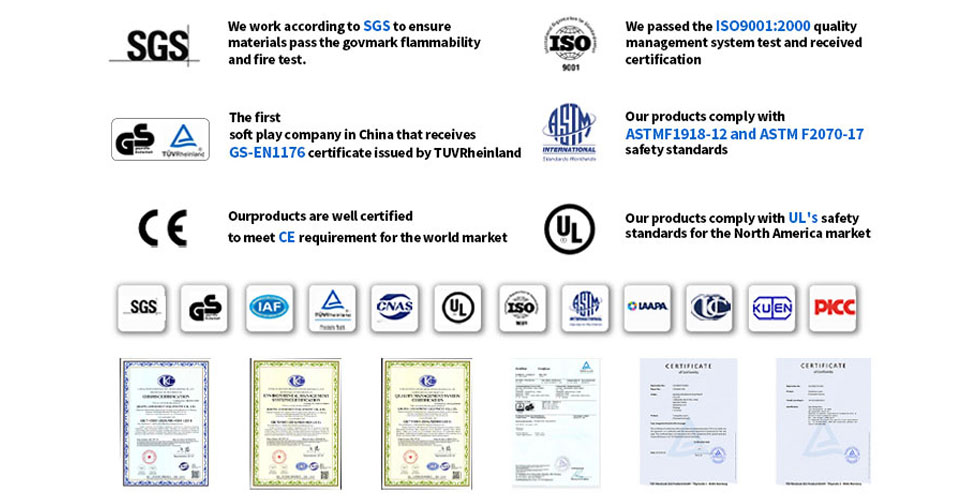
Red Flag: The manufacturer is vague about certifications, claims they “follow ASTM guidelines” without proof, or provides certificates that look unprofessional or are easily faked. Always ask for certificate numbers and verify them.
2. Superior Materials & Transparent Manufacturing (The Tangible Proof)
A great manufacturer is proud of what they’re made of. They will be transparent and detailed about their materials and processes.
What to Look For:
· Steel: Heavy-gauge, galvanized steel that is powder-coated in a multi-stage process for rust and chip resistance.
· Plastics: High-Density Polyethylene (HDPE) or similar durable, UV-stabilized, non-toxic plastics that won’t crack or fade.
· Padding & Vinyl: High-density, impact-absorbing foam covered in durable, fire-retardant, anti-microbial vinyl.
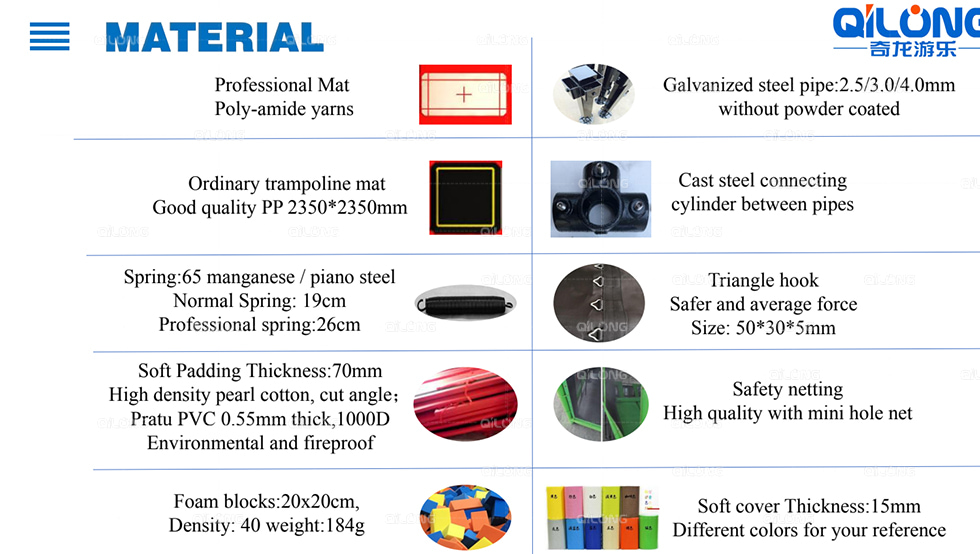
Red Flag: They give generic answers like “high-quality steel” or “durable plastic” without specifics. They are unwilling to share photos or videos of their factory in action.
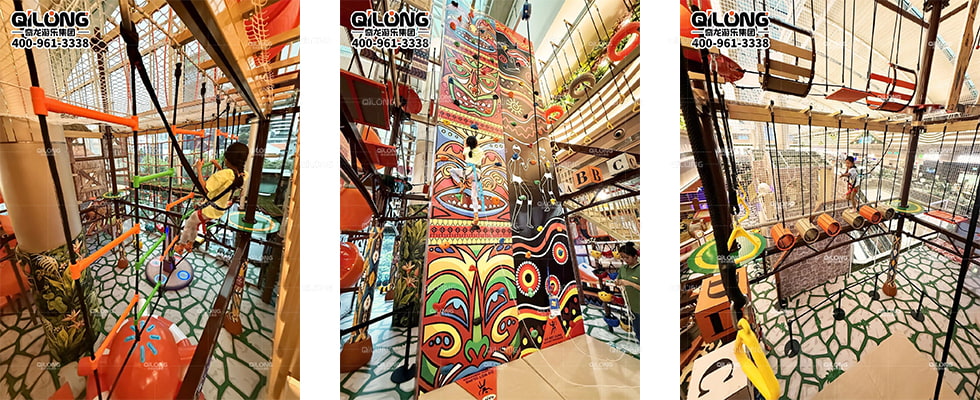
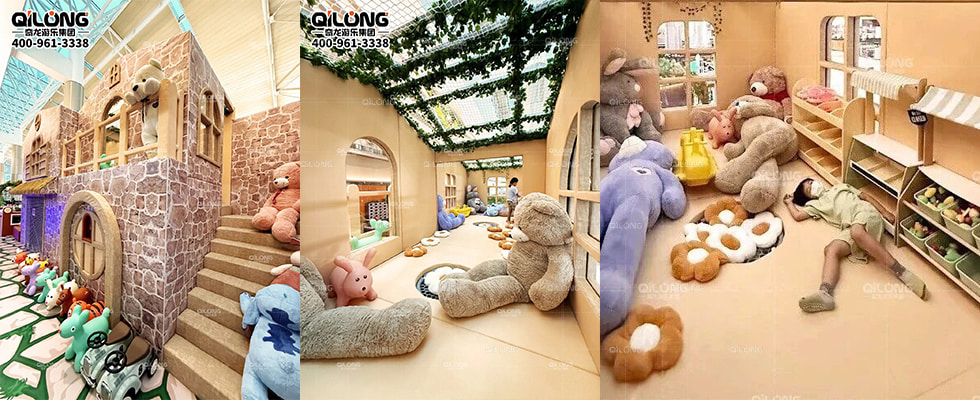
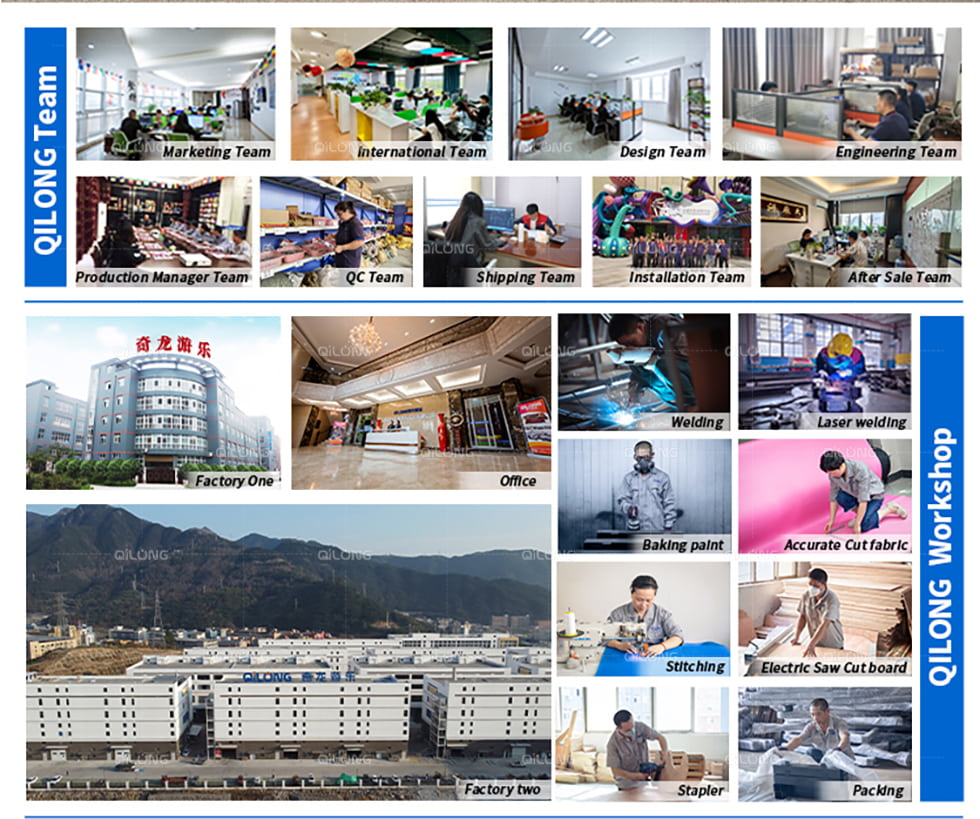
3. A Proven Track Record & Verifiable Reputation (The Proof is in the Parks)
Anyone can create a slick website. A reliable manufacturer has a history of successful projects and happy clients.
What to Look For:
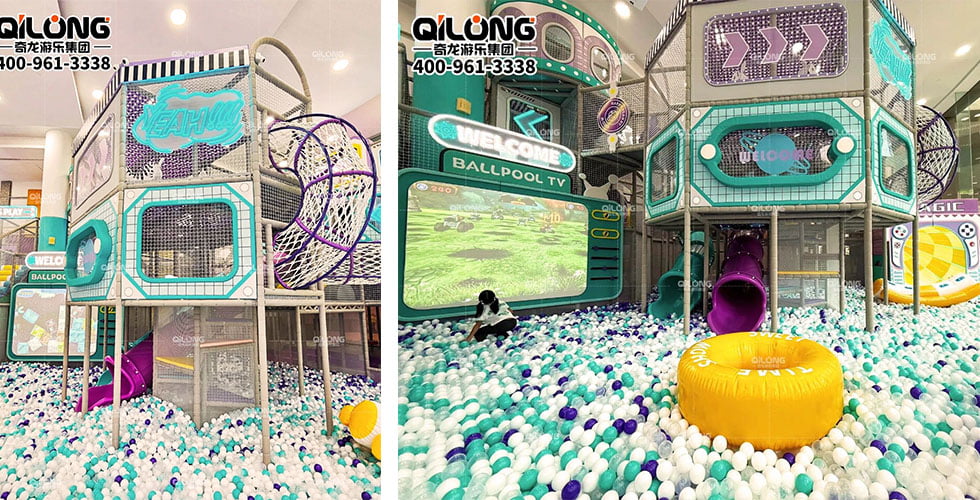
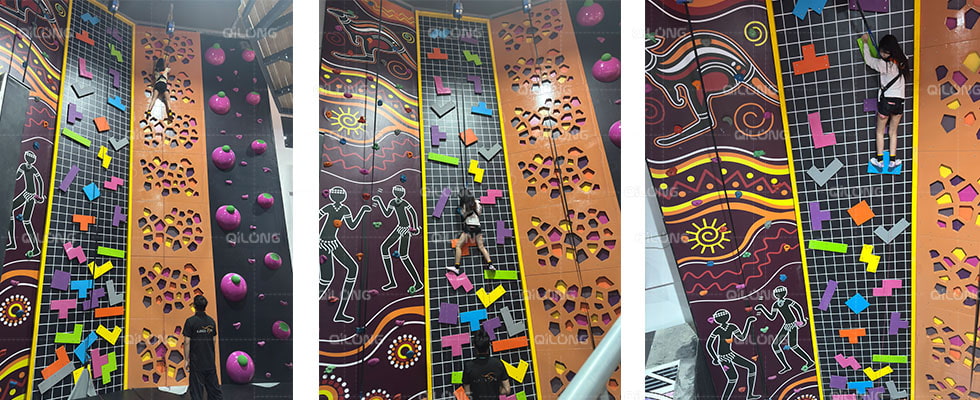
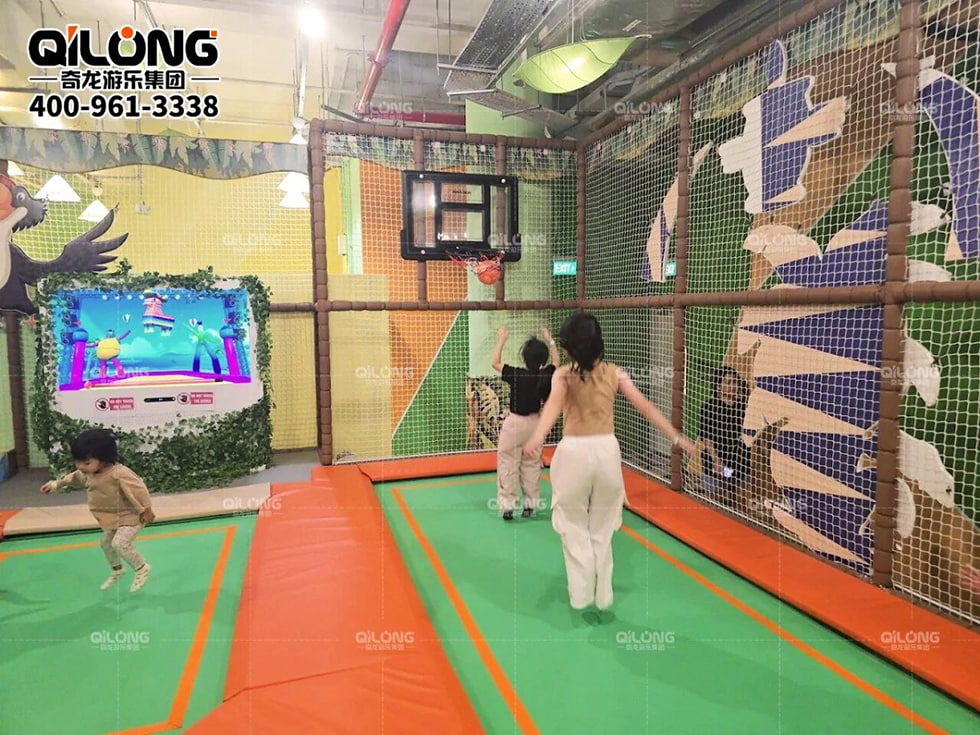
· Extensive Portfolio: A detailed gallery of completed projects, not just renderings. Look for a variety of designs and scales.
· Case Studies & Testimonials: In-depth stories of projects, complete with client quotes and details about the challenges and solutions.
· Willingness to Provide References: They should be happy to connect you with past clients.
Red Flag: A sparse portfolio with only computer-generated images (CGIs). No verifiable testimonials or a refusal to provide client references.
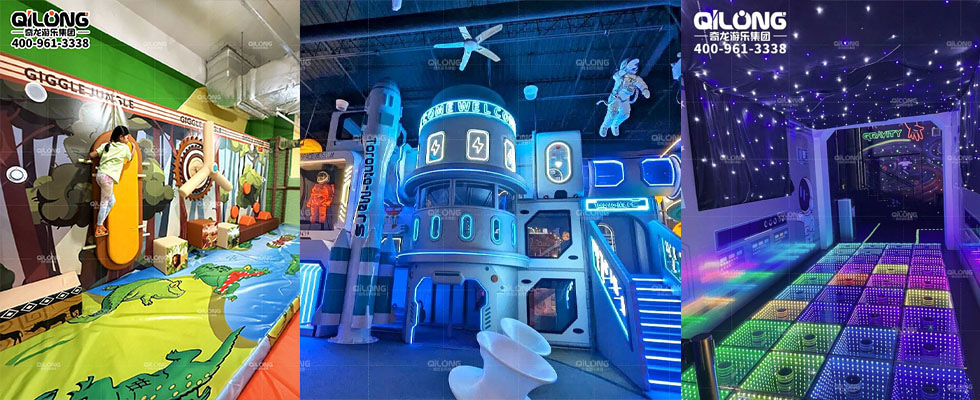
4. Expert In-House Design & Customization (The Partnership)
You aren’t buying a cookie-cutter product; you’re creating a unique destination. A true manufacturer-partner has the design expertise to bring your vision to life.
What to Look For:
· Dedicated Design Team: In-house designers who can create custom 3D renderings and layouts tailored to your space and theme.
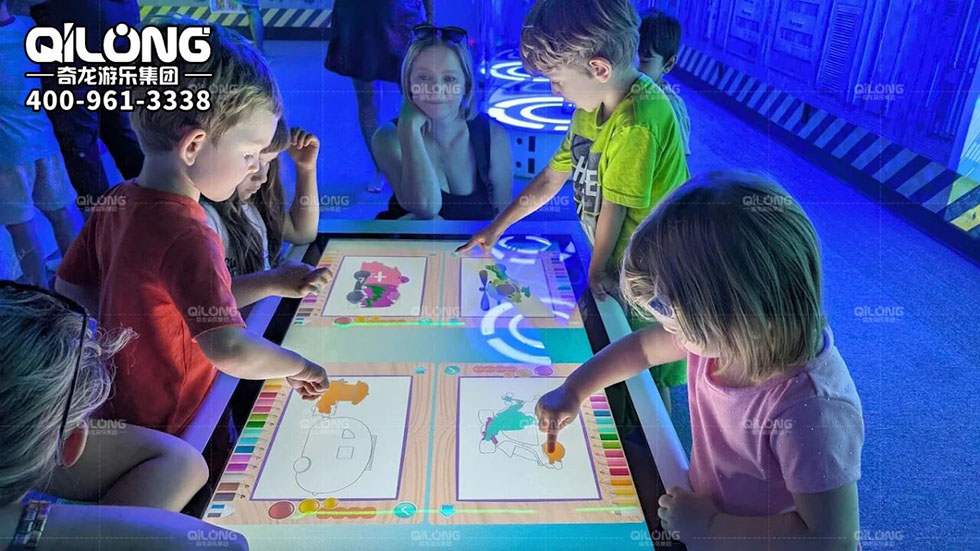
· Theming Expertise: The ability to integrate custom themes that make your park memorable.
· Space Optimization: They should analyze your floor plan to maximize play value, traffic flow, and safety zones.
Red Flag: They only offer a few standard, pre-designed structures and show little flexibility or creativity in accommodating your vision.
5. Professional Installation & Staff Training (The Critical Handover)
The safest equipment in the world is dangerous if installed incorrectly. A reliable manufacturer owns this critical final step.
What to Look For:
· Certified Installation Crew: They send their own professional, trained installers, not subcontractors.
· Comprehensive Project Management: A single point of contact who oversees the entire process from shipping to final installation.
· Staff Training: They provide thorough training for your staff on daily safety inspections and operation.
6. Clear Warranties & Proactive After-Sales Support (The Long Haul)
The relationship doesn’t end when the park opens. A reliable manufacturer stands by their product for years to come.
What to Look For:
· Comprehensive Warranty: A clear, written warranty that covers structural failure, materials, and workmanship .
· Responsive Support: Easy access to a support team for questions and a streamlined process for ordering replacement parts.
· Maintenance Guidance: They provide a detailed manual and checklist for ongoing maintenance.
Don’t Let a Low Price Be Your Guide
A cheap supplier will always win on the initial quote. They achieve this low price by cutting every corner we’ve just listed: using inferior materials, skipping safety certifications, avoiding professional installation, and offering no long-term support.
The result? You’ll pay for it many times over in high maintenance costs, lost revenue from downtime, safety liabilities, and brand damage.
Your Partner in a Thriving Future
Choosing a manufacturer is choosing a long-term partner. At Qilong Amusement Group, we don’t just sell equipment; we build partnerships founded on trust, transparency, and an unwavering commitment to safety and quality.
We meet every point on this checklist because we know your success is our success. We invite you to put us to the test.
Ready to make the right choice? Contact our expert team today.
· Request our full portfolio and safety certifications.
· Ask to speak with one of our many successful park owners.
· Let’s discuss your vision and create a custom 3D design for your space.